
Create a Category
Categories are a grouping mechanism used to organize items to make it easier for marketers to find and select these items when building Mailings.
To create a Category:
-
From the User Details drop-down menu in the top-right corner of the screen, select Admin. The Administration window is displayed.
-
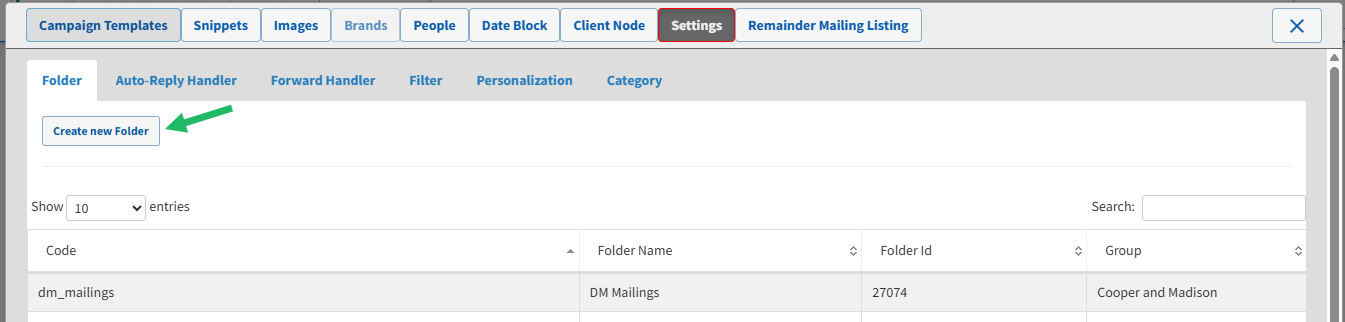
From the tool bar at the top of the Administration window, click Settings. The Settings screen is displayed, with the Folder tab selected by default.
-
Select the Category tab. For each Category, the screen displays its code, name, and type.
-
Click Create New Category. The Add Category pop-up window is displayed.
-
In the Code field, enter an internal name for this item. This value must be unique, and must not include any spaces.
-
In the Name field, enter a user-facing display name for this item as it appears within Distributed Marketing.
-
From the Type drop-down menu, select the Category type: Images, Links, Snippets, SMS, or Templates.
-
Click Save.
